While developing my app I had a simple set up for getting my monster data. Originally I was sending a monster id with the expectation of making an api call with it from the page that would receive , but decided instead that since I was already getting a list of monsters for the monster page, I might as well just send a monster object over instead of an id to reduce the call. I wonder if this could be classified as premature optimization, but considering I plan to follow this format for the other Codex objects, it seems like a good idea to think forward on reducing API calls. This is certainly an easy redundancy to pick out.
The goal is simple, to get from this page of wonderfully named monsters:
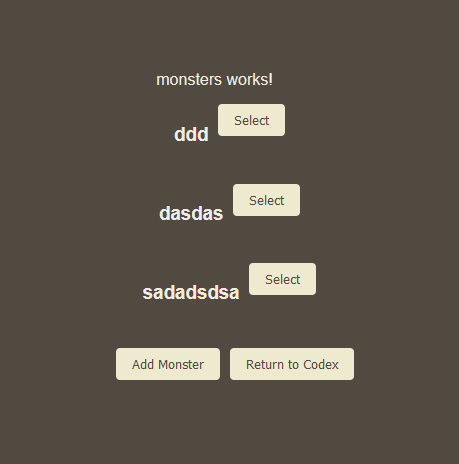
onto a new page to display the details and allow editing. I will commonly need to send data from one page on angular to another, so it will be good to be acquainted with at least one technique. It took a little bit of fumbling around in Angular to get it to work, but I will share with you how you can achieve the same results as this:
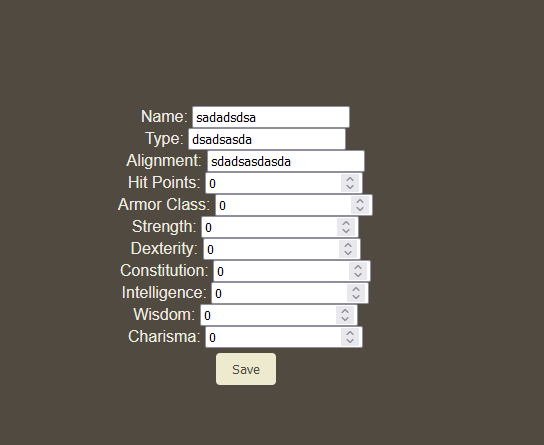
I am just pushing through garbage values for down, I plan to build in the edit functionality later so we can turn this into a real value. It’s also very ugly, with neither the labels nor the text fields being aligned. But it is functional and that’s good enough for our purposes now. To achieve this functionality, first you need to have an object to send. In this case, I had retrieved a list of Monsters from my database and wanted to push the data of a single monster through.
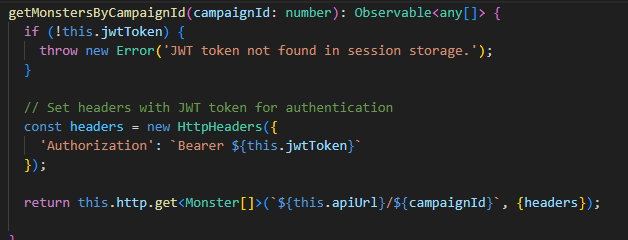
This is my service calling the api to get an array of Monsters

And here is my component which has the list of the monsters. From it, I have the form set up like the first picture, with a select button next to each monster. That button will trigger this method, where the magic begins:

The .navigate(…) method here is pretty straightforward, navigate to the monster select screen and pass the selectMonster.id as a parameter to be initialized. The interesting part is the later bit involving state. Doing this sends this state data along as a part of the navigation. That sounds a bit confusing, but it can be immediately used here in a different component I called monster details:
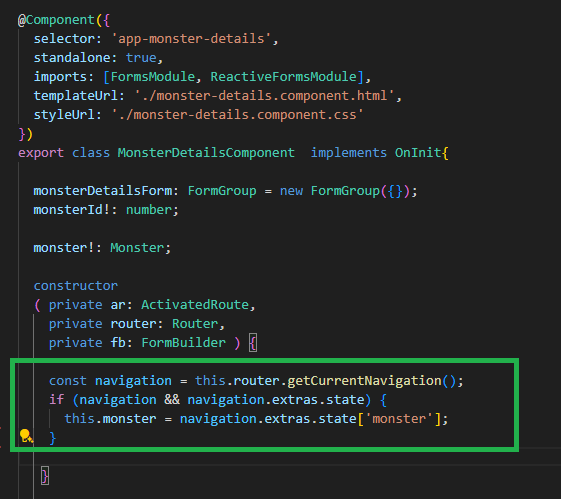
During the constructor for this I use the router object to pull the current navigation and check that it isn’t null and that it has something in its extras.state value. Once confirmed, we pull the Monster data into the local variable monster we had defined here. It’s important we do this in the constructor, because after constructions, the state data will be banished to the shadow realm never to return. Unless you click that monster again, of course.
Now that we have the monster data in our component, we can use a reactive form and patch the values through to it.
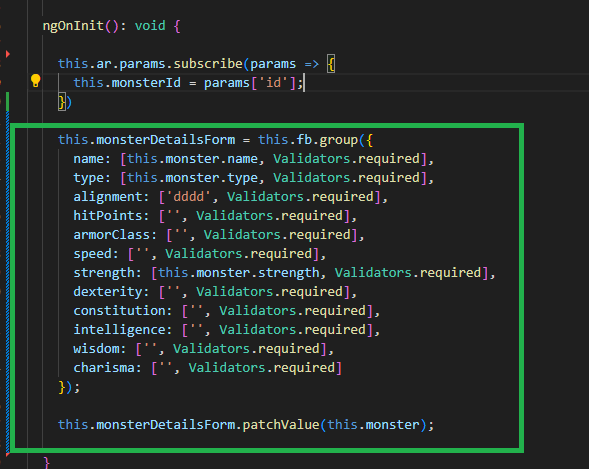
Make sure you have the fields matching in your HTML:
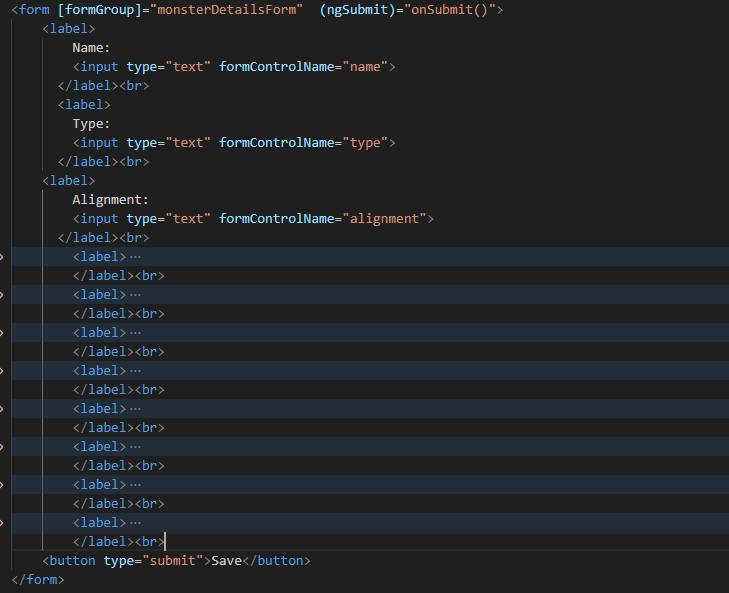
And that should do it. If you followed these instructions with your own data models, that info should be populating onto that form. The next step is wiring up the updates to our API.
