If you have data in a form and you need to change the value of that data and save it off to a database, like the Azure SQL database I am using for my project, here’s a quick guide:
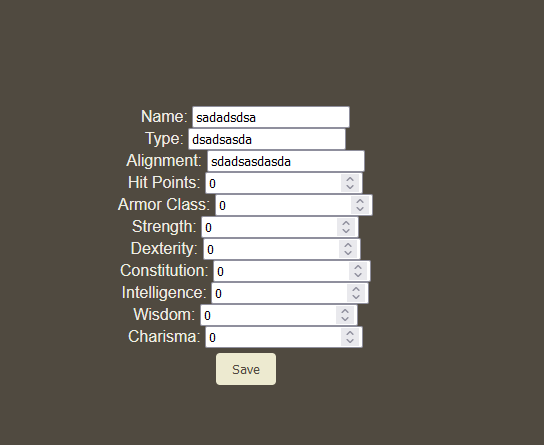
Starting with the monster data in a form from the previous post:
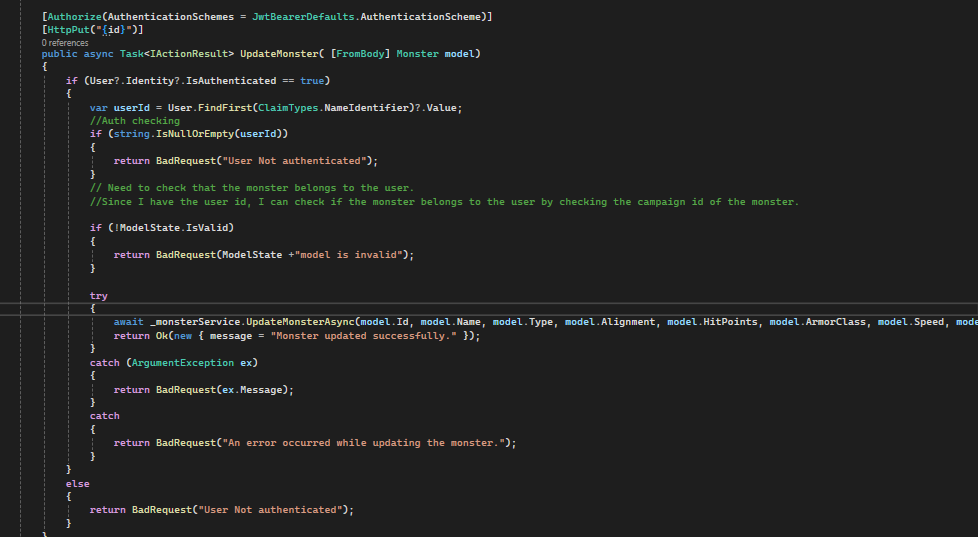
We need to be able to use the http “put” feature. So first, we need the API to be able to handle it. This requires some knowledge of how to set up and use the API controller class. I don’t have a guide on that yet, but I will look to writing one. Once you have a bit of an idea about it, this is what the put method for the monster class should look like:
this is obviously very ugly and in need of cleanup, but the important part is that it will take a model from my app and attempt a put statement using the UpdateMonsterAsync method in my service. That method looks like this:
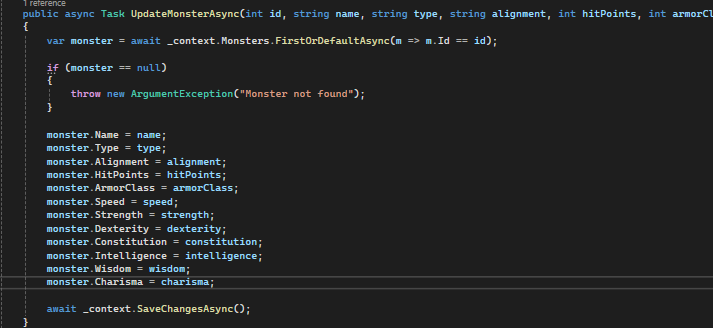
We’re taking the values from the model we were sent from angular as arguments, then pulling the monster with the same Id from the database. After we have it, we are updating the details of it with the details that were sent into us, and awaiting the results of the saveChanges async method.
And that’s it for the API. Once this is running, it will listen for put events from angular, so let’s get one of those sent over. So, firing up the angular app, here is the method to be called when save is clicked:
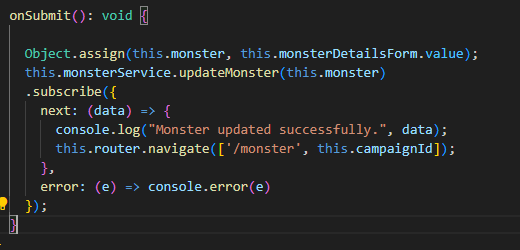
This is in the Monster Details component itself, which has a monster service in its constructor. First, we use the Object.assign method to assign the details from the form to the monster object, then we call the monster service and send that monster object over as an argument to the service.
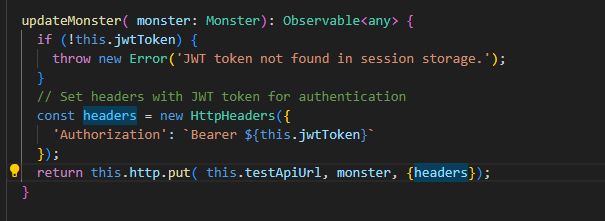
This is configured to return the results of sending a put statement over to the api, the first argument being a test link to the endpoint we have set up, the second being the monster object that will be used for the [FromBody] section on C#, and the {headers} which has our JWT authorization token.
Let’s test it out by changing the values and hitting save. It’s configured to navigate back to the monster page on successful save. This feels responsive, but I would rather turn it into a regular page without fields down the line.


That’s good enough for now though, it’s at least functional. This was very painless. Admittedly, it was made a lot easier by already understanding using the API controller. I will have to create a guide on soon.
